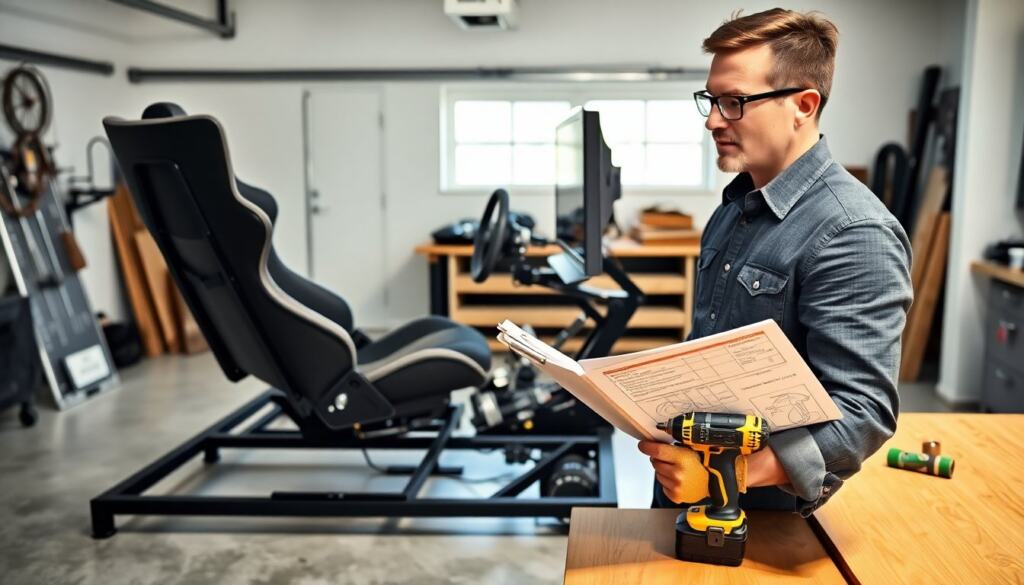
A diy sim racing cockpit lets a racer get pro feel without high cost. This guide shows clear steps to plan, choose parts, and assemble. It gives measurements, part options, and setup tips. The guide keeps focus on comfort and function. Readers learn how to make a stable cockpit that fits pedals, wheel, and seat.
Key Takeaways
- A DIY sim racing cockpit offers a professional racing feel at a fraction of commercial costs by focusing on stable design and ergonomic comfort.
- Planning your cockpit with clear goals and precise measurements ensures the setup fits your space and racing style for optimal performance.
- Choosing appropriate materials like steel or aluminum balances strength and budget, while selecting the right wheel, pedals, and seat enhances your sim racing experience.
- Assembling the cockpit should follow a step-by-step process: build a stable frame, mount components securely, and fine-tune fitment for comfort and control.
- Adjustability in wheel height, pedal reach, and seat angle is crucial for long-term comfort and improved racing performance.
- Testing the cockpit under real race conditions allows you to make incremental adjustments, ensuring stability and responsiveness during gameplay.
Plan Your Cockpit: Goals, Measurements, And Ergonomics
Define a clear goal before buying. He or she must decide whether the diy sim racing cockpit will target casual play, league racing, or streaming. The goal drives choices for wheel load cell support, pedal travel, and seat type.
Measure the available room. He or she should measure floor width, depth, and ceiling height. Record distances to nearby furniture and the TV or monitor stand. Allow at least 24 inches behind the seat for adjustments and cable runs.
Set ergonomic targets. Position the wheel so the forearms sit parallel to the floor when hands rest at 9 and 3. Place pedals so the knees bend about 90 degrees when the seat is in the preferred driving position. Keep the monitor center at eye level and 24–36 inches away for a single 27–32″ screen.
Choose a seating angle. He or she can pick a near-upright angle for endurance comfort or a reclined angle for a low, race style. A seat slider and recline feature let the user fine tune engine torque feedback and pedal pressure.
Sketch a simple frame. Draw side and top views with dimensions for wheel height, pedal plate angle, and seat mount points. Use this sketch when shopping for materials and when cutting parts. A clear sketch reduces mistakes and wasted parts.
Plan for adjustability. Include slots or multiple bolt holes for wheel height and pedal distance. He or she should add a mounting plate for future upgrades like button boxes or motion actuators. Design for cable access and ventilation. This planning step saves time during assembly and improves long term use.
Choose Materials, Parts, And A Realistic Budget
Pick materials that balance cost and strength. Steel square tube gives strong support and low flex. Aluminum profiles weigh less and allow cleaner builds but cost more. Plywood works for pedal plates and seat platforms when braced correctly.
Set a realistic budget. A basic diy sim racing cockpit can cost under $300 using used parts and simple steel. A midrange build with a direct drive wheel or high end pedals can reach $800–$1,500. He or she should list must-haves versus nice-to-haves before shopping.
Select the wheel and pedals. For budget builds, a belt or gear wheel and a hydraulic or load cell pedal set offer good value. For advanced users, a direct drive wheel and professional load cell pedals improve feedback but increase cost.
Choose a seat. A reclining bucket seat mounts directly to frame rails. A used car seat can save money and provide comfort. He or she should check mounting points and seat rail width before purchase.
Pick mounting hardware and accessories. Use M8 or M10 bolts for steel frames. Add steel plates where bolts will concentrate load. Choose a wheel mount that supports your wheel base bolt pattern. Buy cable channels and zip ties for tidy wiring.
Factor in monitor and mount. He or she can use a single large screen or triple smaller monitors. A VESA monitor arm or custom mast works well. Prioritize a stable mount to prevent wobble under force feedback.
Shop for deals. Check local classifieds, sim racing forums, and marketplaces for used wheels, pedals, and seats. He or she can often find a solid wheel or pedal set at a fraction of retail. Reuse parts where safe and functional.
Assemble, Mount Components, And Fine‑Tune Fitment
Prepare the work area. He or she should clear space, gather tools, and lay out parts. Use a level and tape measure at each step. Follow the sketch from planning to keep dimensions consistent.
Build the base frame first. Cut and weld or bolt the main rails to match the sketch. Ensure the frame sits level on the floor. Add cross braces to reduce flex under load. Attach rubber feet to reduce vibration transfer.
Mount the seat next. Bolt the seat rails to the frame and test multiple positions. He or she should tighten bolts then test by sitting and leaning forward to simulate braking and steering forces. Adjust for comfort and pedal reach.
Install the pedal plate. Mount pedals on a reinforced plate and set the angle between 10 and 20 degrees. Use shims or a hinged mount if fine tuning is required. Check the pedal return and travel for interference.
Attach the wheel base and mount. Secure the wheel base to the wheel plate with the correct bolt pattern. He or she should torque bolts to manufacturer specs. Test force feedback in a game at low strength and increase slowly while checking for wobble.
Wire and tidy cables. Route power and data cables along the frame and secure them with zip ties. Keep cables away from moving parts and heater sources. Label connections for easier upgrades later.
Fine tune fitment. He or she should sit and drive for short sessions, then adjust wheel height, pedal distance, and seat angle. Tighten any loose fittings and replace parts that flex too much. Record final measurements for reference.
Test in race conditions. Run a few sessions with different car classes and force feedback settings. Make incremental changes to gain comfort and control. The build works best when the cockpit feels stable and repeatable under force.